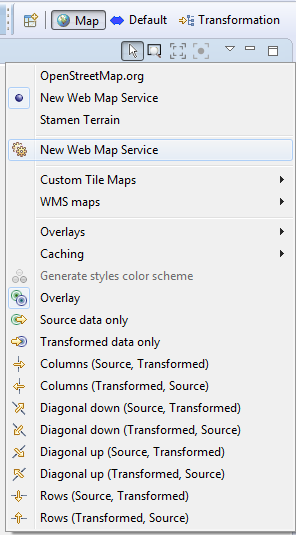
A Web Map Service (WMS) is a standard protocol for serving georeferenced map images which a map server generates using data from a GIS database. You can set up hale studio's Map view to use such a WMS.
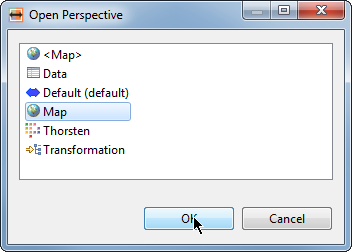
To work with WMS map, first open the Map view, go to the Window menu, select Show View and pick Map.


To add the WMS maps in the Map view, click on the View Menu and then pick WMS maps→Add.
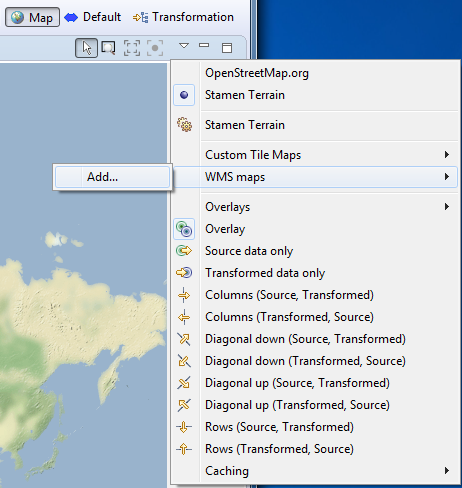
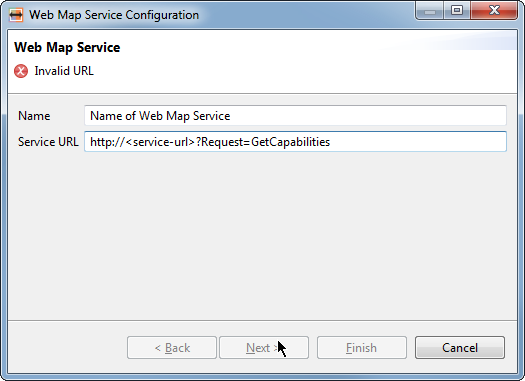
Click on the Add button, then provide a unique name for the service and enter the Web service URL.
Please note here name must be unique from any other WMS map configurations and URL should be valid to fetch capabilities. To go to the next configuration page, click on Next button in the dialog or click Finish directly to skip next configuration pages.
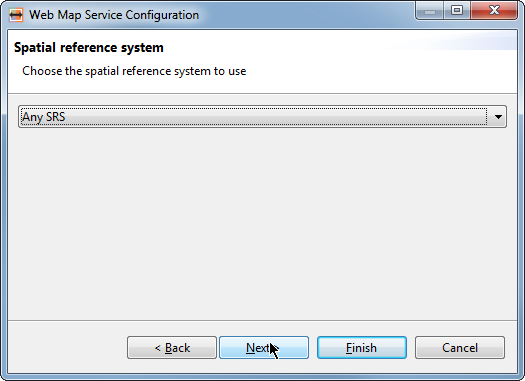
On the next page, select the Spatial reference system supported by the WMS from the drop down list. To go to the next configuration page, click on Next button in the dialog or click Finish to skip next configuration pages and complete configuration.
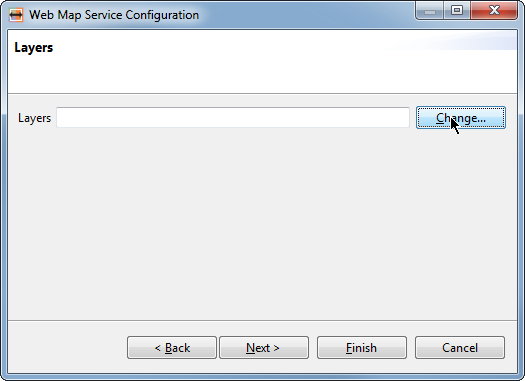
On this page, select Layers supported by the WMS that you want to display in the Map view. To go to the next configuration page, click on Next button in the dialog or click Finish to skip next configuration pages and complete configuration.
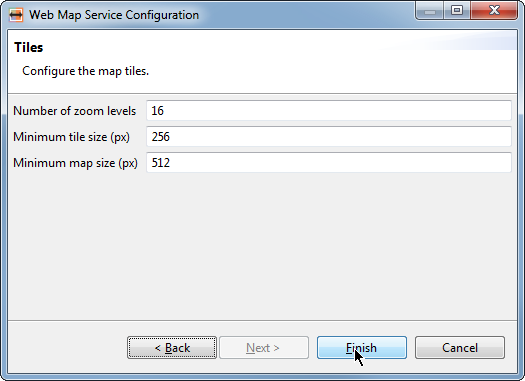
On this page, configure map Tiles. You have to provide the number of zoom level for the map, minimum tile size(px) as width or height and minimum map size(px) as width or height. Please note, you have to define values between 1 to 100 for zoom levels, between 64 to 1024 for tile size and between 64 to 65,536 for map size otherwise you can not proceed to finish. Click Finish to complete the configuration.
After finishing configuration, hale studio displays the WMS map in the Map view.
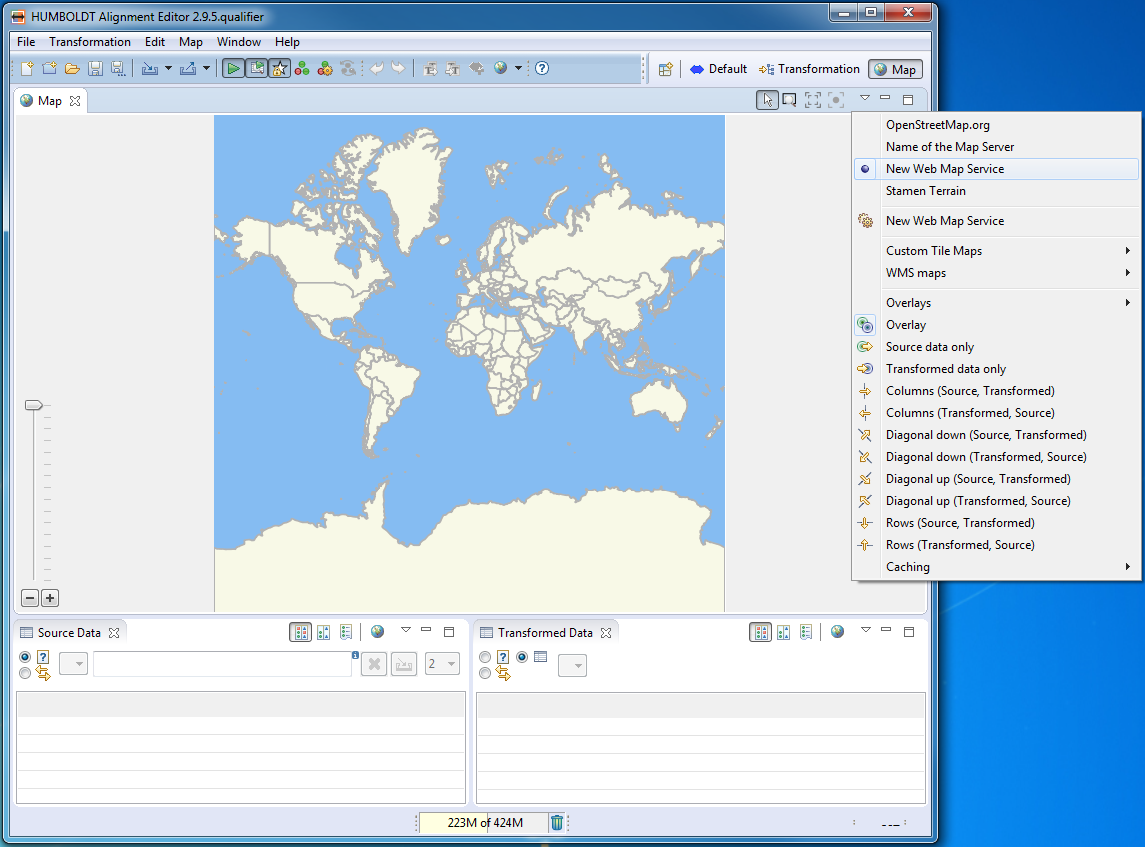
To change the configuration for a WMS map, click on the name you set before. Change any of the settings by stepping through the dialog again.
