By configuring custom tile map servers, you can use any map based on the web tiling scheme in hale studio's map view.
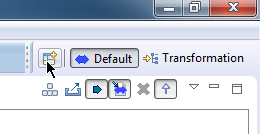
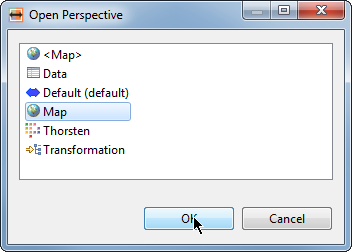
To work with Custom Tile maps, first open the Map view, go to the Window menu, select Show View and pick Map.


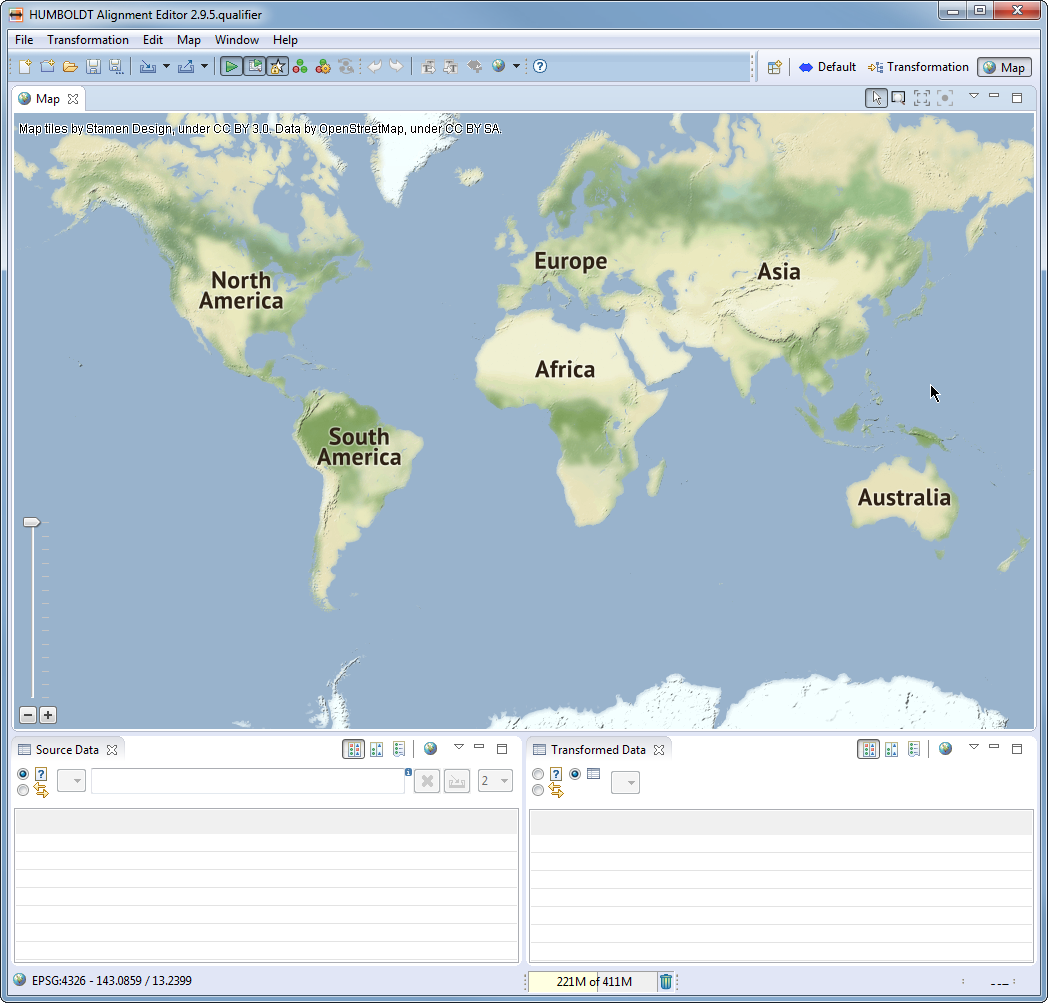
By default, hale studio uses the Stamen Terrain map in the Map view. Map tiles by Stamen Design, under CC BY 3.0. Data by OpenStreetMap, under CC BY SA.
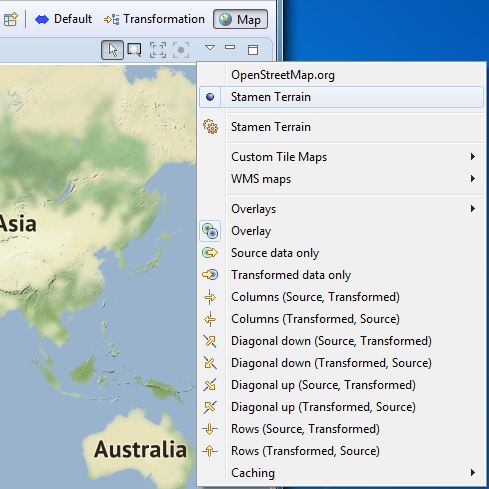
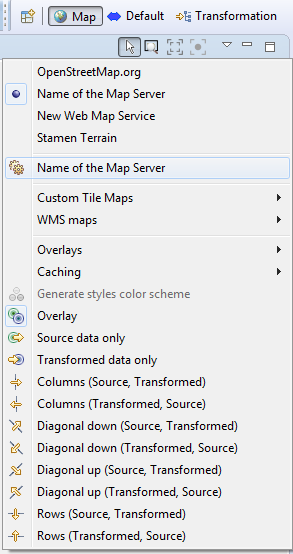
To add the Custom Tile map in to Map view, click on the View Menu button and then head to Custom Tile Maps→Add.
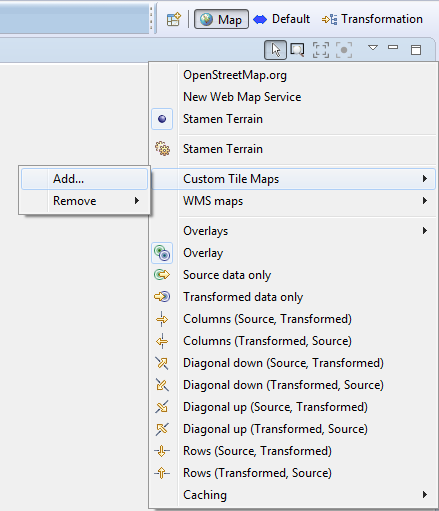
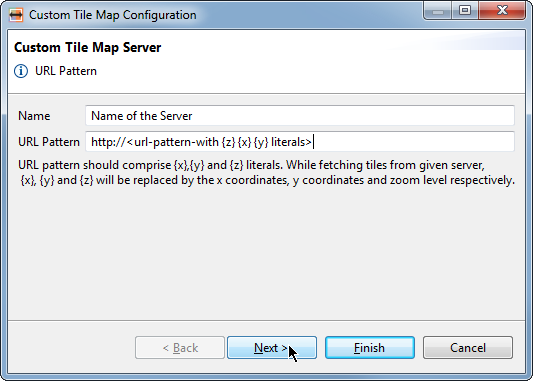
Click on the Add button, then provide a unique name for the service and enter the URL pattern.
Please note, name should be unique in Custom Tile maps. The URL Pattern has to include {z}, {x} and {y} literals which will be replaced by the hale studio as Zoom level, x-coordinate and y-coordinate respectively while fetching the tiles. To go to the next configuration page, click on Next button in the dialog or click Finish directly to skip next configuration pages.
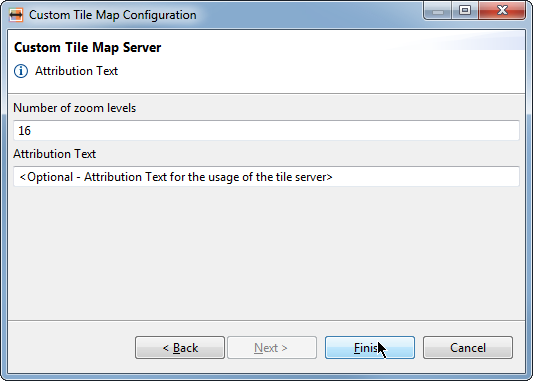
On this page, You have to provide the maximum zoom level for the map (default is 16) and attribution text of the map server. Click Finish to complete the configuration.
Before using a map you should make sure that you doing so is in compliance with the respective terms of use.
After finishing configuration, your Custom Tile map is loaded in to Map view.
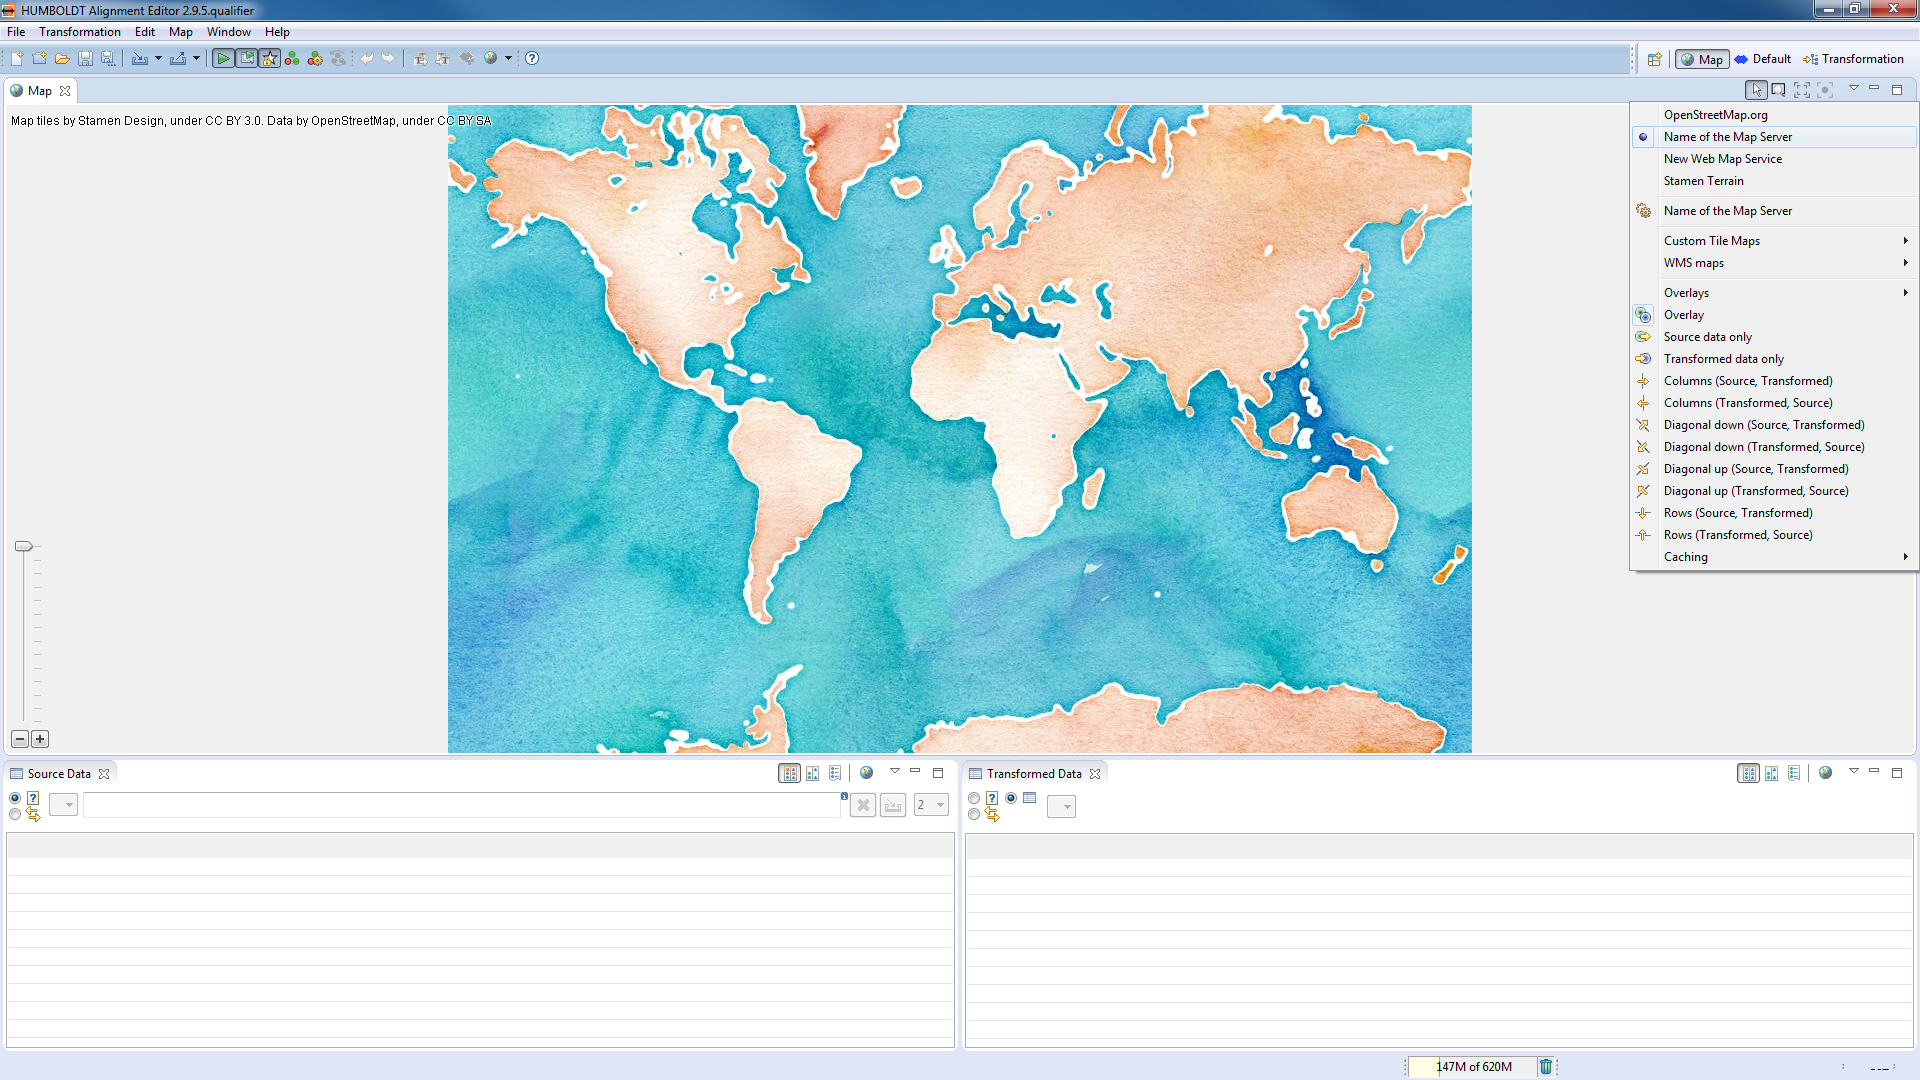
To change the configuration for a custom tile map, click on the name you set before. Change any of the settings by stepping through the dialog again.
